

In this article
- Why Apartment Bathrooms Leak Into the Unit Below
- Is It Definitely Your Bathroom?
- Who Pays for a Bathroom Leak in a Dubai Apartment?
- What to Do First When a Bathroom Leaks Below
- How a Bathroom Leak Is Fixed Properly
- The Step Most Contractors Skip: the Flood Test
- Working in an Apartment Tower: Practical Points
- Repairing the Ceiling Below
- How to Prevent Your Bathroom Leaking Again
- Book a Bathroom Leak Inspection in Dubai
- Frequently Asked Questions
It usually starts with a phone call or a knock on the door. Your downstairs neighbour has a stain on their ceiling, or worse, water dripping onto their floor, and it is right under your bathroom. Or you are the one downstairs, looking up at a growing brown patch and wondering who to call.
A bathroom leaking into the apartment below in Dubai is one of the most common problems we are called to in towers across Dubai Marina, JVC, Business Bay and Downtown. It is stressful because two households are involved, and nobody wants to pay for a repair that is not their fault. This guide explains what usually causes the leak, who is typically responsible, what to do first, and how to fix it properly.
Why Apartment Bathrooms Leak Into the Unit Below
In an apartment, your bathroom floor is your neighbour’s ceiling. Between them there is a concrete slab, a layer of screed, a waterproofing membrane and your tiles. Water has to get past the tiles and the membrane before it can reach the slab, so a leak below almost always means one of these layers has failed at a weak point.
The most common causes we find are:
- Failed or missing wet-area membrane. Older buildings and some fast-built towers have thin or poorly detailed membranes that crack over time.
- Floor waste not bonded to the membrane. If the drain body sits on top of the membrane rather than being sealed into it, water runs around the outside of the drain into the screed.
- No upturn at the walls. The membrane should turn up the walls, especially inside the shower. Where it stops at floor level, water runs down the wall tiles and behind them.
- Cracked grout and failed silicone. On their own these rarely cause a big leak, but they let water into the screed every day, which finds any weakness in the membrane.
- Concealed pipe leaks. A weeping joint on a mixer body or supply pipe behind the wall can soak the floor exactly like a membrane failure.
- Bath and shower tray edges. A gap between the tray or bath and the wall lets splash water straight down the side.

Is It Definitely Your Bathroom?
Not always. Before anyone starts lifting tiles, the source needs to be confirmed. A stain under a bathroom can also come from:
- An AC condensate line running above the neighbour’s false ceiling
- A shared drainage stack or pipe in a service shaft
- The kitchen or laundry next to the bathroom
- A unit two floors up, with water travelling down a shaft or pipe sleeve
- A balcony with no upturn at the door
This is why we always start with diagnosis. A thermal scan of the ceiling below, moisture readings, and controlled tests upstairs (running only the shower, then only the basin, then filling the bath) tell us which fixture or joint is responsible. Our article on thermal imaging leak detection explains the process in detail.
Who Pays for a Bathroom Leak in a Dubai Apartment?
This is the question everyone asks first. The answer depends on where the leak comes from and on the ownership and tenancy arrangements, so treat the points below as general guidance, not legal advice. Always check your tenancy contract, your owners’ association rules and, if needed, speak to RERA or a legal adviser.
If the Leak Comes From Inside a Unit
Generally, the owner of the unit where the leak originates is responsible for repairing its source, such as a failed bathroom membrane, a leaking floor waste or a concealed pipe inside that unit. In many cases they are also asked to make good the damage to the unit below.
If the Unit Is Rented
Tenants should report the leak to their landlord or property manager straight away, in writing. Major repairs and defects are usually the landlord’s responsibility unless the tenancy contract says otherwise, while minor day-to-day maintenance such as resealing silicone may fall to the tenant. Tenants should not commission major work themselves without the landlord’s approval.
If the Leak Comes From a Common Area
Shared pipes, drainage stacks, service shafts and roofs are normally the responsibility of the owners’ association, managed through the building management company. If the inspection shows the water is coming from shared services, building management needs to arrange the repair.
If You Have Insurance
Home contents or building insurance may cover some water damage. Check your policy, report the incident promptly, and keep every record: photos, the leak report, messages and receipts. Insurers usually want evidence of the cause, which is another reason to get a written report before work starts.
In every case, a neutral written report helps. It keeps the conversation between neighbours, landlords and building management focused on facts rather than blame.
What to Do First When a Bathroom Leaks Below
Whether you are upstairs or downstairs, these steps protect both properties and speed up the repair:
- Protect people and belongings. If water is near light fittings or sockets, switch off that circuit. Move furniture and put down containers.
- Reduce water use upstairs. Stop using the suspected shower or bath until the cause is found. If water is actively pouring, isolate the supply to that bathroom.
- Take dated photos of the stain, the bathroom above, and any visible damage.
- Tell building management in writing, especially if access between units is needed.
- Notify the landlord if either unit is rented.
- Do not repaint or seal anything yet. It can hide the evidence the inspection needs.
- Book a leak inspection so the source is confirmed before any tiles are broken.
How a Bathroom Leak Is Fixed Properly
Once the cause is confirmed, the repair depends on which layer failed. There are three broad levels.
Level 1: Grout, Silicone and Sealant Repair
If the membrane is sound and water is only entering through cracked grout or failed silicone, the fix is local. Old grout is raked out and replaced, silicone is removed and renewed with a proper wet-area sealant, and the joints at the tray, bath and basin are resealed. This is quick and causes little disruption, but it only works if testing has confirmed the membrane is intact.
Level 2: Waste or Pipe Repair
If a floor waste or concealed pipe joint is the problem, the repair is targeted. A small area of tiles is lifted, the waste is properly bonded into the waterproofing with a matching collar, or the pipe joint is replaced and pressure-tested, then the area is re-waterproofed locally and re-tiled.
Level 3: Full Wet-Area Membrane Replacement
If the membrane itself has failed, lasting repair means lifting the floor tiles (and usually the lower part of the shower walls), removing the old screed where needed, and installing a new continuous membrane. A proper installation includes:
- Surface preparation and primer
- Reinforcing tape at all corners and wall-to-floor junctions
- Floor wastes bonded into the membrane with matching components
- Upturns on all walls, and full height inside the shower zone
- Correct falls to the drain so water never sits on the floor
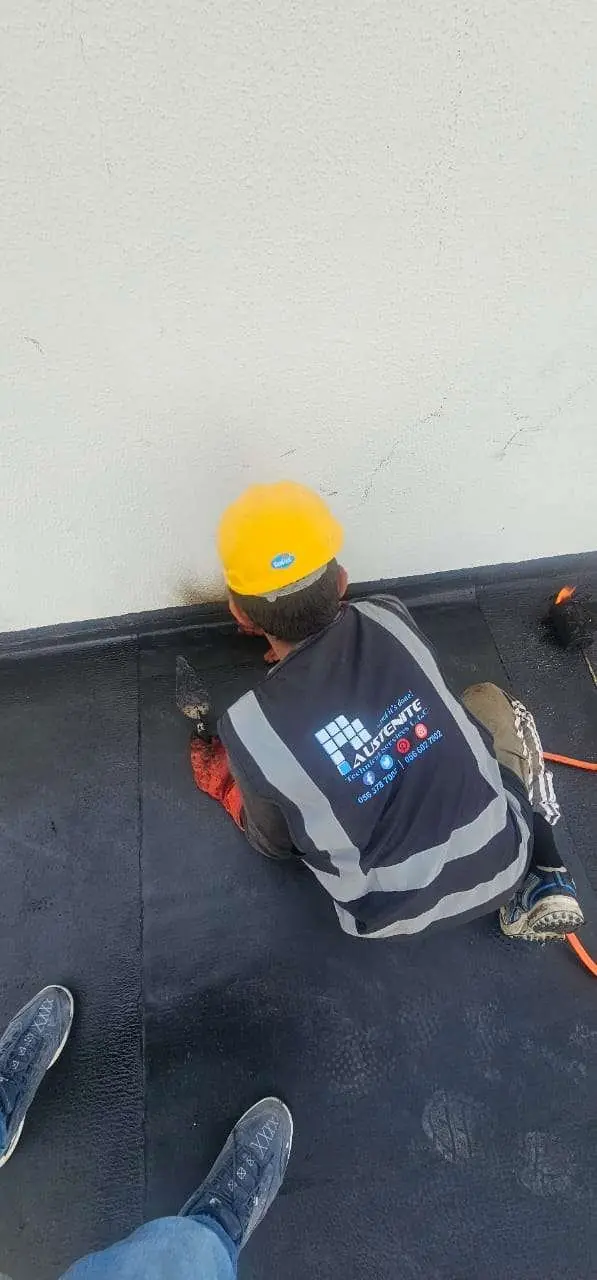
Read more about how we handle bathroom waterproofing in Dubai.
The Step Most Contractors Skip: the Flood Test
Before any new tile goes down, the bathroom floor should be ponded with water, usually for 24 to 48 hours, while someone checks the ceiling below. If the ceiling stays dry, the membrane works. If not, the fault is found and fixed while it is still exposed.
Skipping this step is the main reason bathroom leaks come back after “repair”. We explain why in our guide to flood testing waterproofing in Dubai.
Working in an Apartment Tower: Practical Points
Bathroom waterproofing in a tower comes with rules that villas do not have. Plan for these early:
- Building management approval. Most towers need a work permit or NOC before tiles are removed.
- Working hours. Noisy work such as tile breaking is usually allowed only at set times.
- Debris removal through service lifts and common areas, with floor protection.
- Access to the unit below to check the ceiling during the flood test.
- Bathroom downtime. Allow for removal, membrane curing, the flood test and re-tiling. If it is your only bathroom, plan accordingly.
Repairing the Ceiling Below
Once the source is fixed, the neighbour’s ceiling needs to dry fully before it is repaired. Painting over a wet ceiling traps moisture and the stain returns. Gypsum board that has softened or sagged should be replaced, and the area may need a stain-blocking primer before repainting. We can include making good the ceiling in the quotation, so both households deal with one team.
How to Prevent Your Bathroom Leaking Again
- Reseal silicone at the tray, bath and basin as soon as it darkens or peels.
- Repair cracked grout promptly instead of painting over it.
- Keep floor wastes clear of hair and soap so water drains quickly.
- Run the extract fan during and after showers.
- Watch for loose or hollow-sounding tiles and act early.
Book a Bathroom Leak Inspection in Dubai
A bathroom leaking into the apartment below in Dubai will not fix itself, and every day it continues, the damage below grows. The right approach is simple: confirm the source, fix the failed layer properly, flood-test it, then repair the ceiling.
Austenite Technical Services has more than 25 years of experience with apartment and villa wet areas across Dubai. We find the cause first, give you a photo report you can share with your neighbour, landlord or building management, and back our work with a written warranty.
Call or WhatsApp +971 56 378 7002, or send photos of the stain on WhatsApp to book your free site inspection.
Frequently Asked Questions
Do all my bathroom tiles need to be removed?
Not always. If the leak is from grout, silicone or a single waste, the repair can be local. Full tile removal is only needed when testing shows the membrane itself has failed.
My neighbour says the leak is from my bathroom. What should I do?
Stop using the suspected shower, tell building management, and arrange an inspection. A written report confirms whether your bathroom is the source before you agree to any repair.
How long will my bathroom be out of use?
It depends on the repair level. Local resealing takes a day; a full membrane replacement, including curing, flood testing and re-tiling, takes longer. You get a schedule with the quotation.

Keep reading
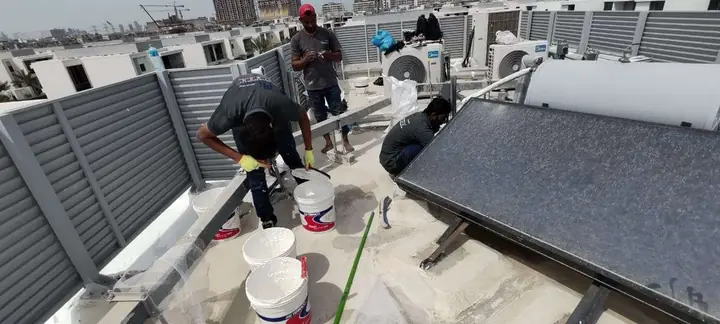
AC Units, Pipes and Solar Frames: The Hidden Roof Leak Points in Dubai Villas
Your roof membrane can be in good shape and still leak. In Dubai villas, the water usually gets in where something passes…
Read article AC Units, Pipes and Solar Frames: The Hidden Roof Leak Points in Dubai Villas
What Is a Flood Test? Why Every Waterproofing Job in Dubai Needs One Before Tiling
Waterproofing is the one part of a building you never see again once it is finished. A flood test is how you…
Read article What Is a Flood Test? Why Every Waterproofing Job in Dubai Needs One Before Tiling
Water Tank Waterproofing in Dubai: Signs Your Tank Lining Has Failed and Safe Potable Coatings
A leaking concrete water tank damages the building around it and can affect the water you drink. Here are the warning signs,…
Read article Water Tank Waterproofing in Dubai: Signs Your Tank Lining Has Failed and Safe Potable Coatings