
Bitumen Waterproofing in Dubai
Reinforced bituminous membrane, heat-welded to a primed slab with sealed overlaps — the proven choice for roofs, terraces and podiums that will be covered with screed or tiles.
- Free site inspection
- Written quotation
- Warranty-backed work


5.0 ★★★★★
205 Google reviews
Torch-on sheets
Heat-welded to the substrate
Reinforced
Polyester or glass-fibre core
Roofs, terraces, podiums
Under screed, tiles or insulation
Flood-tested
Every lap checked
A tough, proven layer under your roof finish.
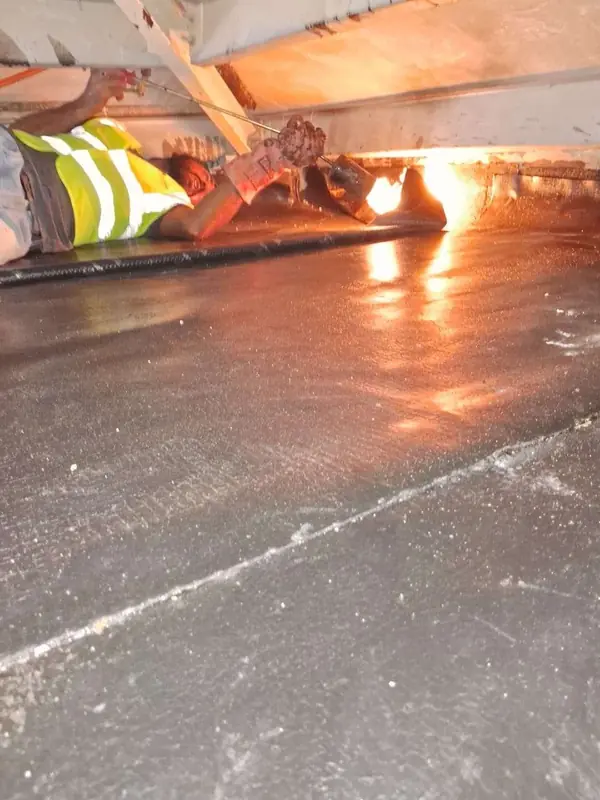
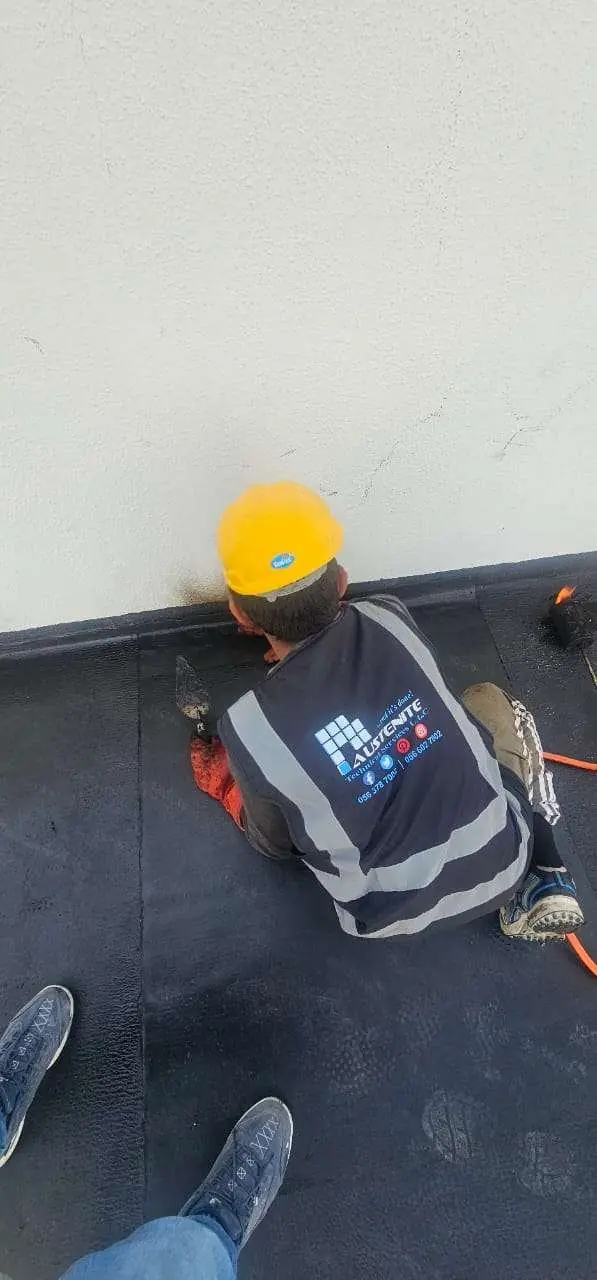
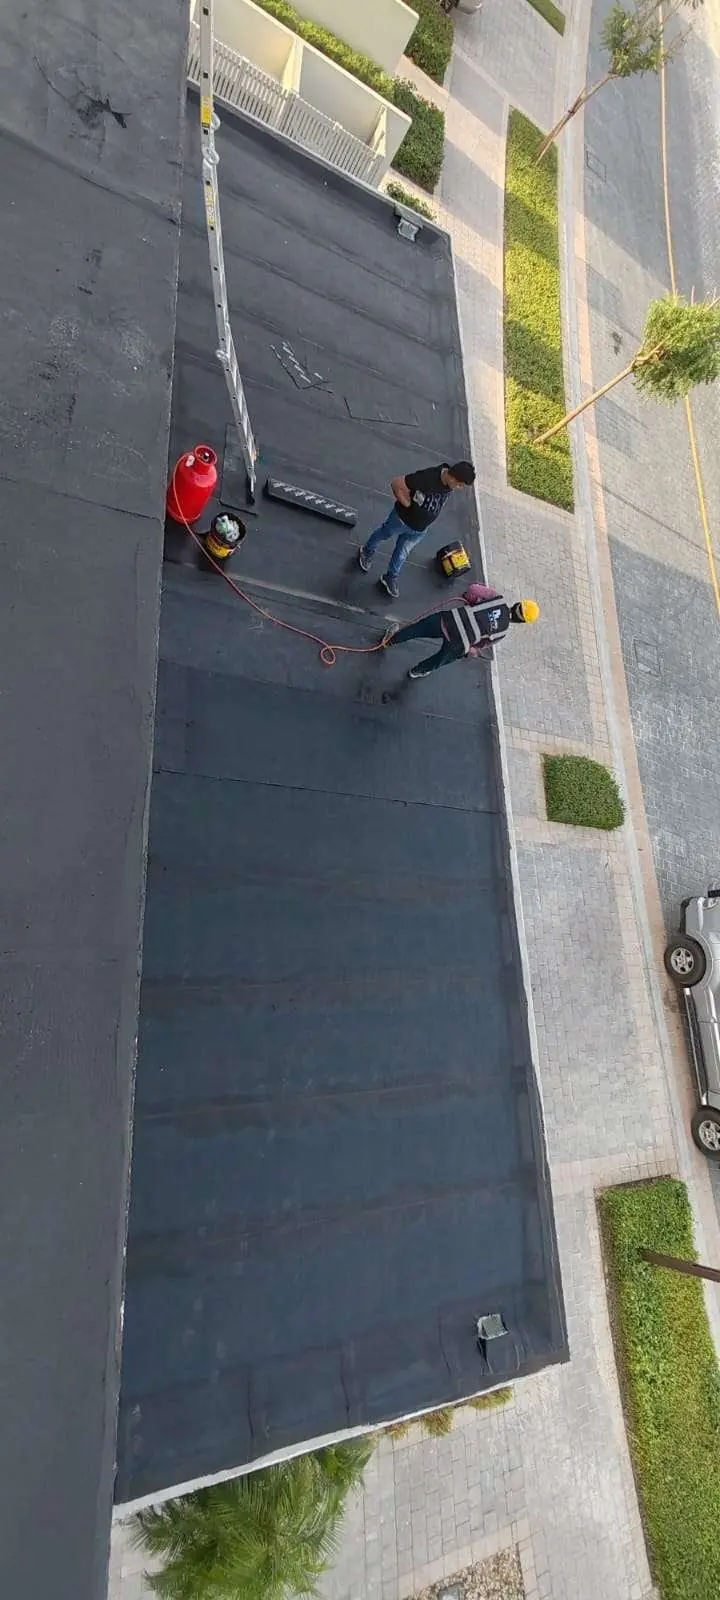
Torch-on bitumen membranes are rolls of modified bitumen reinforced with a fibre core. Each sheet is torched onto a primed surface and every overlap is heat-welded, creating a continuous, thick waterproof layer.
Bitumen membranes are best where they will be protected — under screed, tiles or insulation — so the sun never reaches them. For exposed roofs we usually recommend a liquid or PU system instead.

- Flat concrete roofs before screed and tiles
- Roof terraces and balconies
- Podium decks and car-park roofs
- Planters and landscaped decks
- Below-ground walls before backfill
- Wet areas in some building specifications
Why contractors and engineers specify it.
Strong, thick and well understood — when it is installed properly.
Durable when protected
Long service life under screed or tiles.
Thick, reinforced layer
Resists punctures during construction.
Heat-welded seams
Laps fused together, not just glued.
Heat-tolerant grades
Modified bitumen suited to Gulf temperatures.
Works on large areas
Fast coverage of roofs and podiums.
Easy to inspect
Laps can be probed before covering.
How we carry out bitumen membrane.
Every stage is photographed for your report, and nothing is covered until it has passed a water test.
Inspect the surface
Check the slab for cracks, moisture and falls.
Clean & prime
Dust-free surface, bitumen primer for bond.
Reinforce details
Extra strips at corners, drains and upstands.
Torch-on sheets
Sheets heated and pressed down, laps fused and sealed.
Leak test
Flood test to confirm the membrane holds water.
Protect
Screed, tiles or insulation laid over the membrane.
Choosing the right system.
Specified after inspection — the surface, exposure and finish decide, not habit.
One-ply torch-on
A single reinforced sheet with heat-welded laps — common for roofs and terraces.
- Fast installation
- Good for protected roofs
- Laps welded and probed
Two-ply system
Two sheets with staggered joints for added security on critical roofs and podiums.
- Extra security on seams
- For podiums and critical areas
- Shown in our project video
Mineral-finish cap sheet
A top sheet with mineral granules where a protected finish isn’t possible.
- UV protection built in
- For roofs left exposed
- Lighter colours available
A practical guide to torch-on bitumen waterproofing in Dubai
Torch-on membranes have protected flat roofs and podiums for generations, but the result depends far more on workmanship and site conditions than on the roll itself. This guide explains what happens inside the membrane, how the slab should be prepared, what drives the scope of a job, the mistakes that cause early failures and how to look after a finished roof so the layer beneath your tiles keeps doing its job.
What actually happens when a membrane is torched on?
The underside of each roll carries a thin film and a layer of modified bitumen. When the installer plays the flame across the roll, that surface melts into a sticky, flowing layer. As the sheet is unrolled and pressed down, the molten bitumen wets into the primed concrete and bonds as it cools. Good installers look for a small bead of bitumen squeezing out along the edge, showing the sheet has fully bonded.
The polymers added to the bitumen are what make it suitable for a hot climate. Some grades stay flexible when cool, while others resist softening at high surface temperatures. The reinforcing core gives the sheet its strength and stops it stretching or tearing when the slab moves. Choosing the grade is not guesswork: it comes from the manufacturer’s data sheet, matched to the roof build-up and whether the sheet will be covered.
Preparing the slab: the step that decides the result
A membrane can only be as good as the surface beneath it. The slab needs to be sound, clean, free of loose laitance and dry enough for the primer to soak in. Sharp edges are ground back, holes and honeycombing are filled, and internal corners are formed into a smooth fillet so the sheet can turn up the wall without bridging an air gap. Falls towards the drains should be checked before any membrane goes down, because standing water is far easier to fix in the screed than later.
In Dubai, timing matters too. Morning dew and high humidity can leave moisture on the slab, which weakens the bond and can cause blisters once the sun heats the roof. Midday heat makes the surface very hot and working conditions harder. Experienced crews plan the sequence around the weather, prime only what can be covered, and keep other trades off the exposed membrane.
- Remove loose screed, old adhesive and dust
- Fill cracks, voids and tie holes
- Form fillets at wall and upstand junctions
- Confirm falls and drain levels before priming
- Let primer dry fully before torching
What affects the scope and cost of a bitumen roof?
Bitumen waterproofing is priced on each roof’s own conditions, so roofs of similar size can need quite different work. The biggest variable is usually what has to come off first: removing old tiles, screed and failed layers is slow work that creates debris for disposal. Access is another factor: a villa roof with an internal staircase is very different from a tower podium where materials are lifted by crane or hoist.
The amount of detailing also matters. Roofs crowded with AC units, solar frames, pipes, skylights and parapet drains need far more cutting, reinforcing strips and hand work than an open, clear slab. A double-layer specification uses more material and labour than a single layer. Finally, the protection layer on top, whether screed, tiles, insulation or a cap sheet, forms part of the overall scope, which is why we give an itemised quotation after inspecting the roof.
- Removal of existing tiles, screed or membrane
- Access, lifting and debris disposal
- Number of penetrations and upstands
- Single or double layer specification
- Protection and finishes laid over the membrane
Common installation mistakes that lead to leaks
Most failures of bitumen waterproofing trace back to a handful of avoidable errors. Laps that were warmed but not properly fused can look fine on the day and open up later. Sheets torched over damp or dusty concrete trap moisture that turns into blisters under the sun. Overheating the roll can burn through the bitumen and damage the reinforcement, leaving a weak strip that cracks with movement.
Detailing is the other weak point. Membrane that stops short at the wall instead of turning up and being terminated under a flashing or chase lets water run behind it. Drain outlets that are not sealed into the membrane with a proper collar become a direct path into the slab. And once the membrane is finished, careless trades dragging equipment or dropping tools across it can puncture the layer before the screed is laid.
Inspecting and maintaining a finished roof
Because most bitumen membranes sit under screed or tiles, you will rarely see the layer itself again. Maintenance is therefore about keeping water moving and protecting the finishes above it. Drains and gullies should be cleared of sand, leaves and debris regularly, especially before the cooler months when heavy rain is more likely. Blocked drains let water pond against upstands and joints for longer than the system was designed for.
Walk the roof occasionally and look for cracked tiles, open grout joints, damaged sealant at upstands and new fixings drilled through the finish by AC or satellite installers. New penetrations should be detailed by a waterproofing contractor, not just sealed with silicone. If a ceiling stain appears below, arrange an inspection early, because water trapped in screed spreads further over time.
Questions worth asking before you hire a contractor
A clear proposal makes it much easier to compare contractors fairly. Ask which membrane grade and thickness will be used and request the manufacturer’s data sheet. Ask whether old layers will be removed or overlaid, and why. Find out how laps, drains, upstands and parapets will be detailed, and whether the specification is single or double layer. The answers show whether a contractor has really looked at your roof.
Then ask about checks and paperwork. We probe the laps, flood test before covering and provide a written warranty, so expect any contractor to explain their testing and warranty cover. Ask who is responsible for protecting the membrane until the screed goes down, and how the work fits with other trades on site. A careful contractor will welcome these questions.
Real photos from our jobs.


Rated 5.0 by the people whose homes we’ve worked on.
Every review is from a real client on our public Google Business profile.
Outstanding company — changed my 3 bathrooms completely in 4 weeks. Walls and floors redone, new sealing, bathtub replaced with a rain shower, everything while I was away. Very professional and good value.
Excellent response time. Very professional and cost effective. Not in the habit of overcharging.
Highly recommended for any maintenance issues or any work that requires a contractor. These guys know their stuff.
Did an excellent job on my room ceiling. The finish is flawless and the attention to detail is commendable. Highly satisfied with their service.
Bitumen Membrane — your questions answered.
Straight answers. If yours isn’t here, send it on WhatsApp.
Send two or three photos of the stain or area. We’ll tell you what it probably is and whether it needs a visit.
Is bitumen waterproofing suitable for Dubai heat?
Yes, when the right modified-bitumen grade is used and the membrane is protected from direct sun by screed, tiles or a cap sheet.
Can bitumen membrane be left exposed?
Standard sheets should be covered. Where they must stay exposed, a mineral-finish cap sheet or reflective coating is used.
Single or double layer?
A single layer suits most protected roofs. A double layer adds security on podiums and critical areas — we recommend after inspection.
How do you check the seams?
Every lap is probed after welding and the whole area is flood-tested before covering.
Can it be laid over old waterproofing?
Only if the old layer is sound and well bonded. Failed or blistered layers are removed first.
Why do bitumen membranes sometimes blister?
Blisters usually form when moisture or air is trapped between the membrane and the slab, then expands as the roof heats up in the sun. Damp substrates, dusty surfaces and poorly bonded areas are the usual causes. Good preparation, fully dried primer and correct torching technique greatly reduce the risk.
Is torching safe on an occupied building?
Torch-on work involves an open flame, so it needs trained installers, fire extinguishers on hand and care around timber, insulation and plastic pipes. Near sensitive details we use alternative methods where appropriate. We also coordinate with building management and residents so work areas are kept clear during installation.
Can AC units or solar frames be installed after the membrane is laid?
They can, but every new fixing or plinth through the roof must be detailed into the waterproofing rather than simply sealed. Ideally, equipment positions are planned before the membrane goes down. If they are added later, ask a waterproofing contractor to reinforce and seal each penetration properly.
Related services

Flat, sloped and podium roofs — torch-on bitumen under screed, or UV-resistant liquid membranes on exposed roofs with AC plinths, solar frames and pipe penetrations detailed properly.

Liquid-applied membranes for complex details, wet areas and exposed reflective roofs.
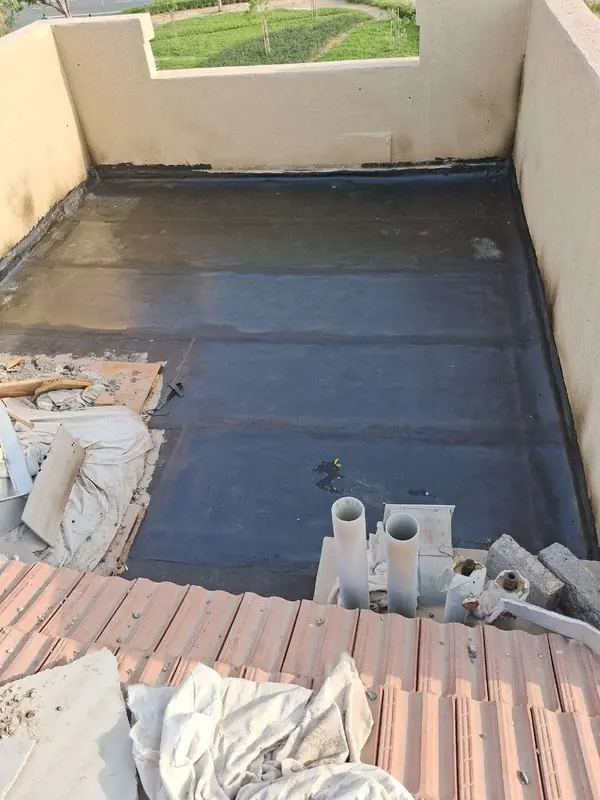
Membrane under tiles with correct falls to drains and turned-up edges at doors and walls.
Fix the leak once.
Properly.
Tell us what you’re seeing. We’ll find the cause, show you the evidence and quote the right fix.